
Set Up MIDI Control
Wire a MIDI controller's knobs, faders, and buttons to Spectralite actions using the MIDI Input dialog, so it can drive a live performance.
Hardware MIDI controllers can adjust parameters, trigger effects, and drive a live performance. You wire a controller's knobs, faders, and buttons to Spectralite actions in the MIDI Input dialog.
Connect your controller
- Plug the controller into your computer over USB.
- Open Edit > Inputs > MIDI.
- The controller appears in the Devices list on the left. If it's missing, click Reload devices.
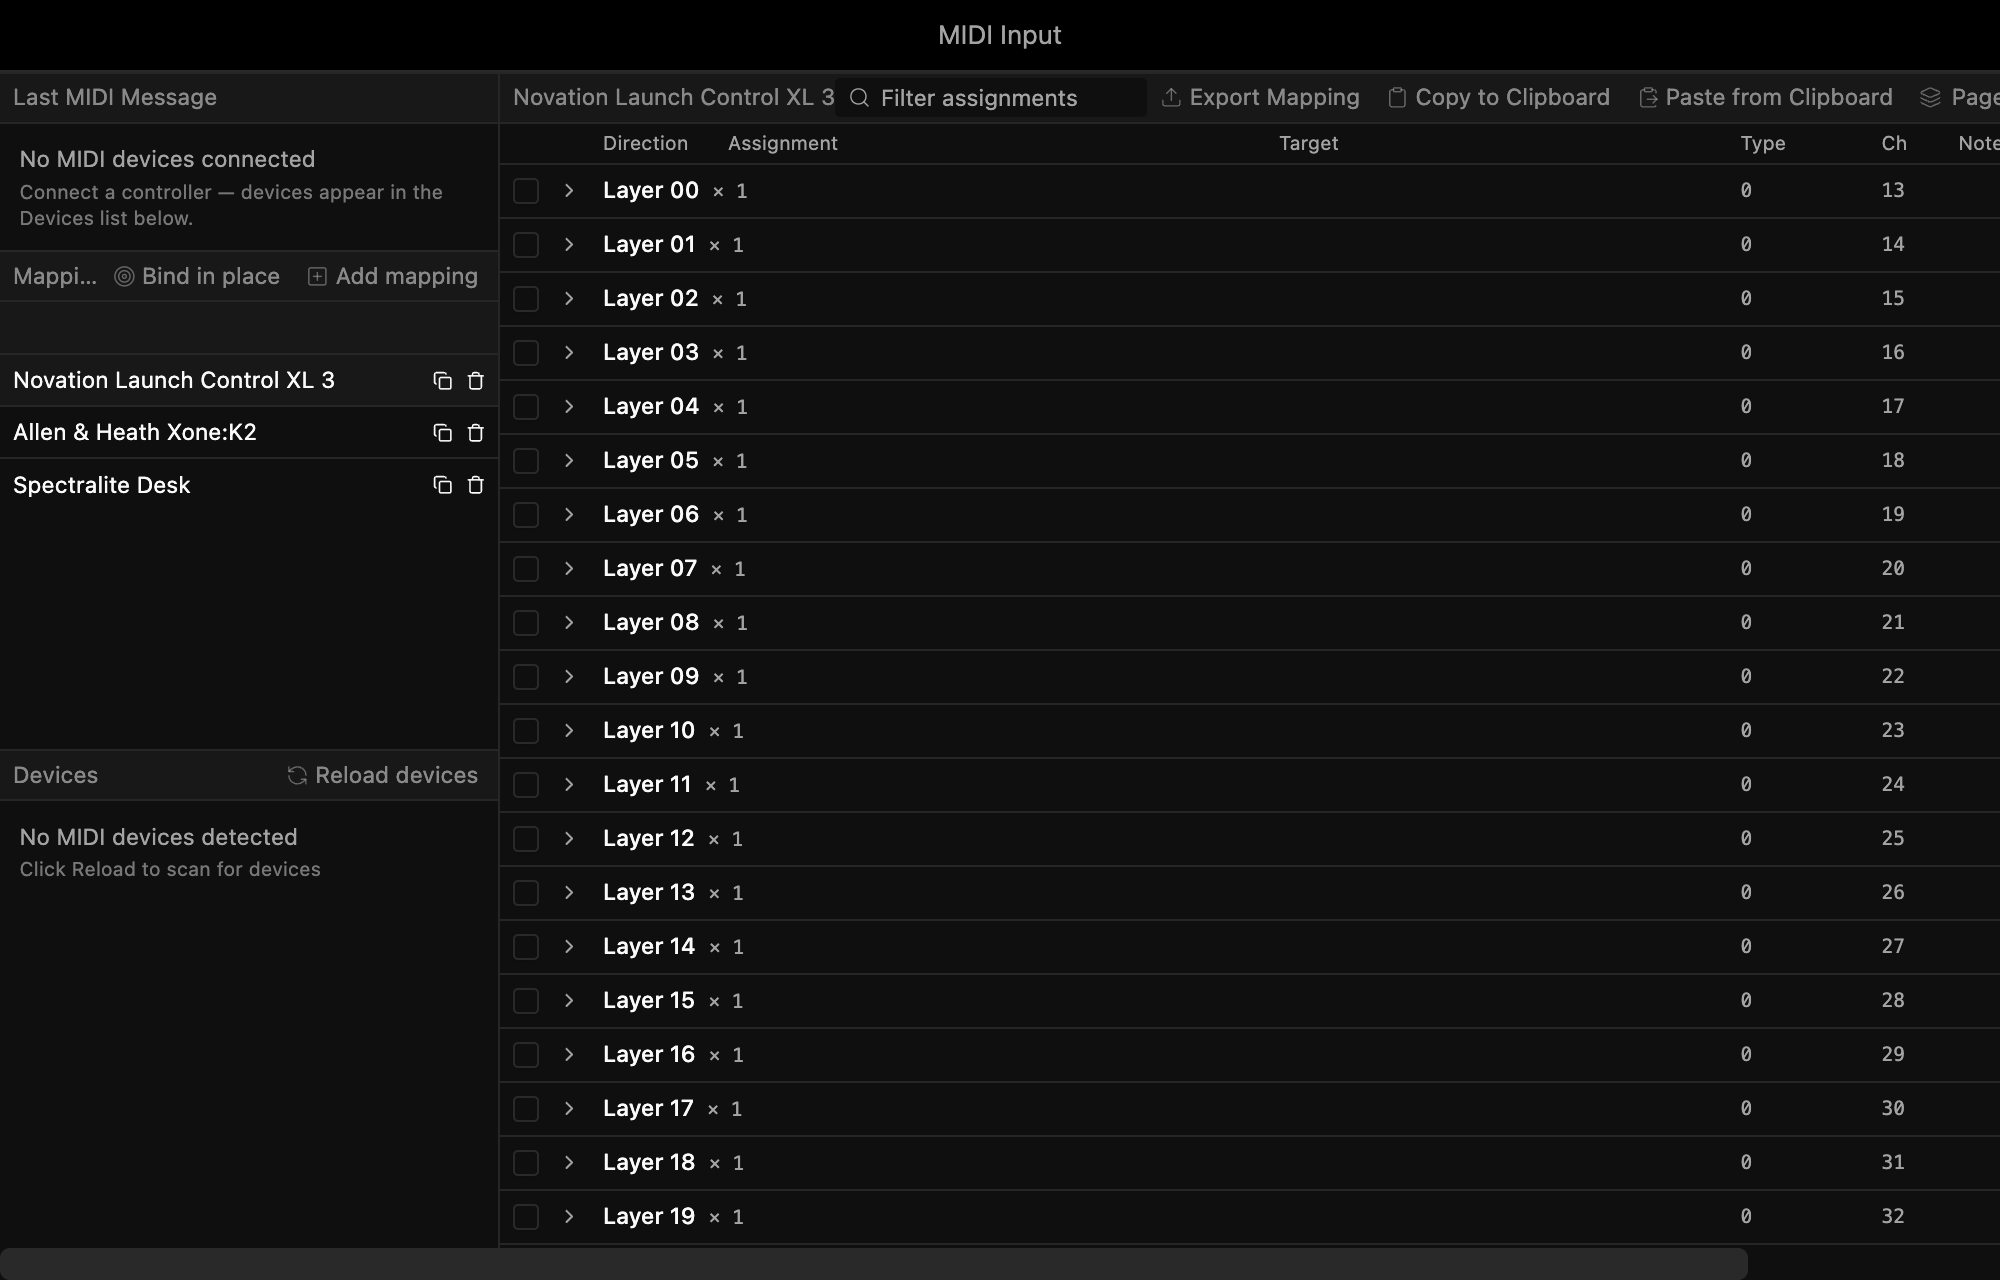
Create a mapping
A mapping is a named group of assignments. You pick one mapping per device, and it decides how that device's controls drive Spectralite.
- Under Mappings, click Add mapping and name it.
- Select the mapping to open its assignment table on the right.
- Click Add assignment. The dialog listens for the most recent MIDI message.
- Move a knob, fader, or button. Its MIDI type, channel, and controller number appear.
- Click Apply to use those values, or type them in by hand.
- Pick an action type and target: layer opacity, BPM, a parameter value, and so on.
- Click Submit. The assignment goes live immediately.
Back in the Devices list, choose the new mapping from the dropdown next to the controller. A device can have only one active mapping at a time.
Common mappings
| Control | Maps well to |
|---|---|
| Faders | Layer opacity, master dimmer |
| Knobs | Effect speed, color parameters |
| Buttons | Layer solo, effect triggers |
| Pads | Tap tempo, layer activation |
Keep separate mappings per show or controller layout, and save them to the Library Manager to reuse across projects. Put the parameters you reach for most on the controls you can reach fastest.